
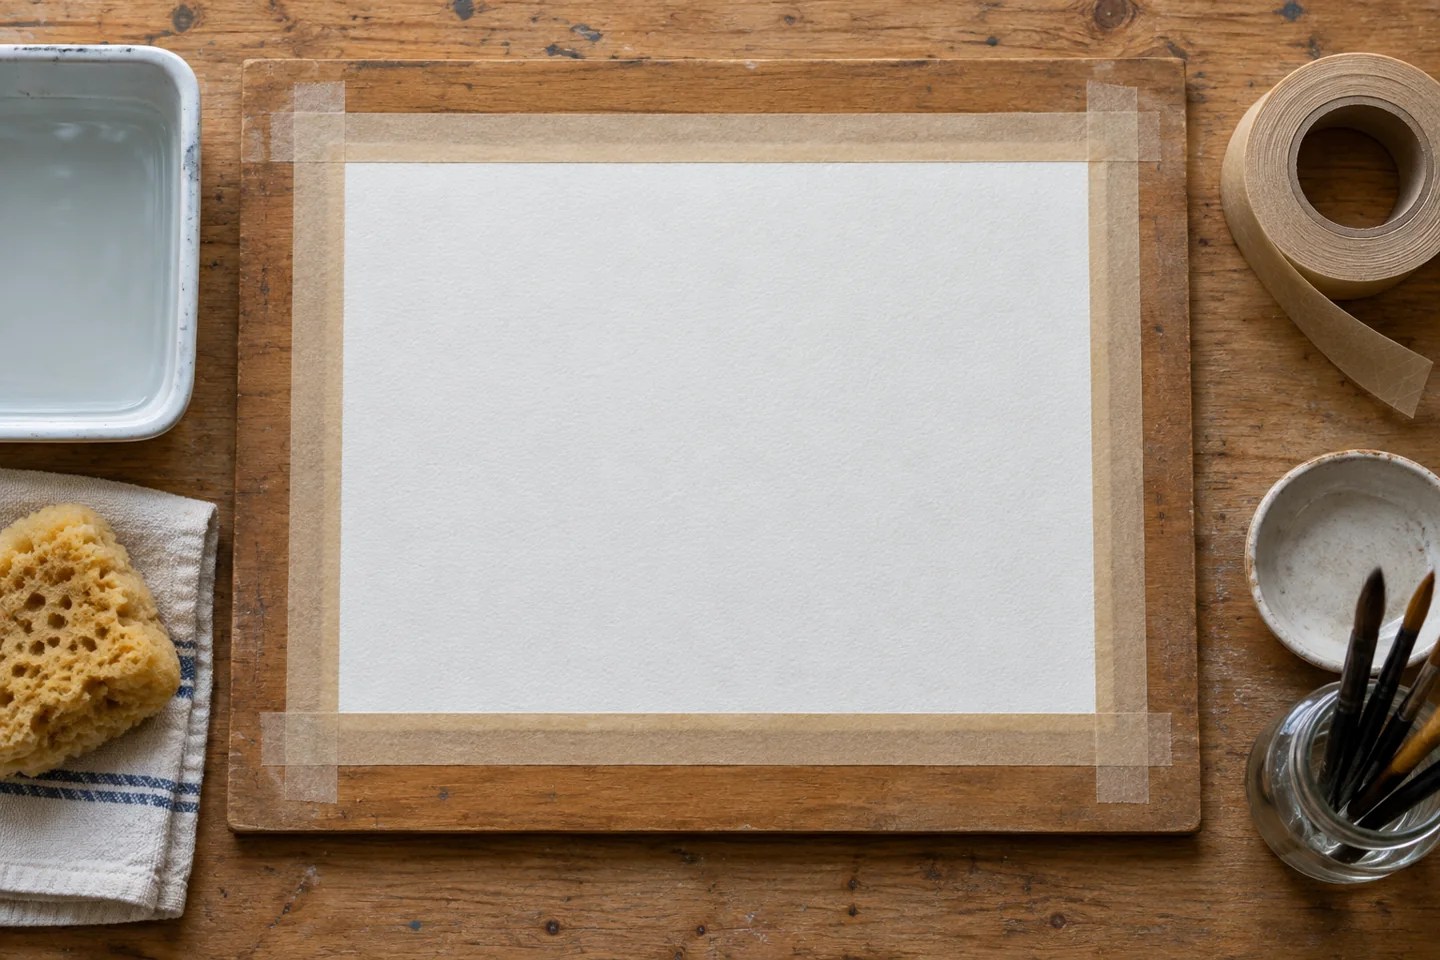
Stretching watercolor paper means wetting a blank sheet, securing it to a suitable board, and allowing it to dry under restraint before painting. The gummed-tape method below follows St Cuthberts Mill’s guidance. It is different from taping down a dry sheet, and its timing must be checked against the paper you actually use.

Decide whether this preparation fits your work
If your normal small exercise works well on its current support, you do not need to add a preparation ritual merely because other painters use it. Consider stretching when movement interferes with your painting and you want to keep using loose sheets. A block is another format to investigate; choosing between them is partly a workflow decision.
Use blank practice paper for a first attempt. Leave room around the intended image for attachment. Decide in advance where the board can remain flat and undisturbed while the sheet dries.
The documented gummed-tape sequence
Read the complete St Cuthberts instructions, including its timing examples. Gather a flat wooden board, a clean soaking container, gummed tape and a clean sponge.
- Prepare the workspace and tape.
- Soak the blank sheet as directed for your paper, place it on the board and drain excess water.
- Moisten the tape’s adhesive side. Attach each edge with at least 1 cm of tape on the sheet and 1 cm on the board.
- Keep the board flat until dry. Check that the attachment holds before painting.
Use water-activated gummed tape. The maker’s soaking examples are not a rule for every paper of that weight.
A worked 300 gsm example from one mill
In the St Cuthberts method, the published example is approximately 8 minutes of submersion for 300 gsm (140 lb) paper, compared with approximately 3 minutes for 190 gsm (90 lb). The same instructions say to keep the board flat and let it dry overnight before dry-paper painting. Those numbers document this particular method; they are not a universal timer for every manufacturer’s sizing, sheet size or room.
What to check if it goes wrong
The mill’s troubleshooting guide identifies detergent contamination, excessive soaking and problems activating the tape as possible sources of failure. It notes that wet paper needs careful handling and that too much wetting of the tape can remove adhesive.
| What happened | First check in the documented method |
|---|---|
| The tape pulls away while the sheet dries | Whether the sponge was too wet and removed adhesive, or the tape had too little glue |
| Dark marks appear in a later wash | Whether the wet sheet was touched in the painting area instead of handled by its edges |
| The paper becomes unusually absorbent | Possible detergent residue in the tub or sink, and whether soaking was excessive for that paper |
| Record | Why it helps your next attempt |
|---|---|
| Paper range, weight and dimensions | You can repeat the attempt on a comparable sheet |
| Instructions followed and actual wetting time | You can identify a mismatch instead of guessing later |
| Board and tape used | You can distinguish paper behavior from an attachment problem |
| Which edge released, and when | You have a specific failure to investigate |
Why not simply soak it longer?
A longer soak is not an automatic improvement. Different papers use different treatments, and a failed attachment does not prove the sheet needed more water. Check the relevant instructions first and change one part of the method on a new practice sheet. Our sizing explanation helps separate the paper treatment from weight and surface texture.
If the finished preparation is loose, damaged or uneven, resolve that before starting a painting you value. This guide concerns preparing blank paper; it does not prescribe treatment for an already painted work.
Sources checked September 11, 2026. A documented preparation guide with original planning tables and a generated editorial illustration. No physical stretching trial was performed for this article.